A question I get asked regularly here at BY SELINA by the plastic free curly community is, “How do I create root volume in my curls”. Although the majority of how our curls look is based on our natural curl pattern and I for one am all about embracing how our curls look naturally, as opposed to creating curls that all look the same. However, I do understand that sometimes we like to switch up how our curls look. I will caveat this last sentence with we can only manipulate our curl pattern to a certain extent and it is just not physically possible to create 4C curls from 2b hair, so keep this in mind and make sure you have realistic expectations of what you would like to achieve with your curls 😊.
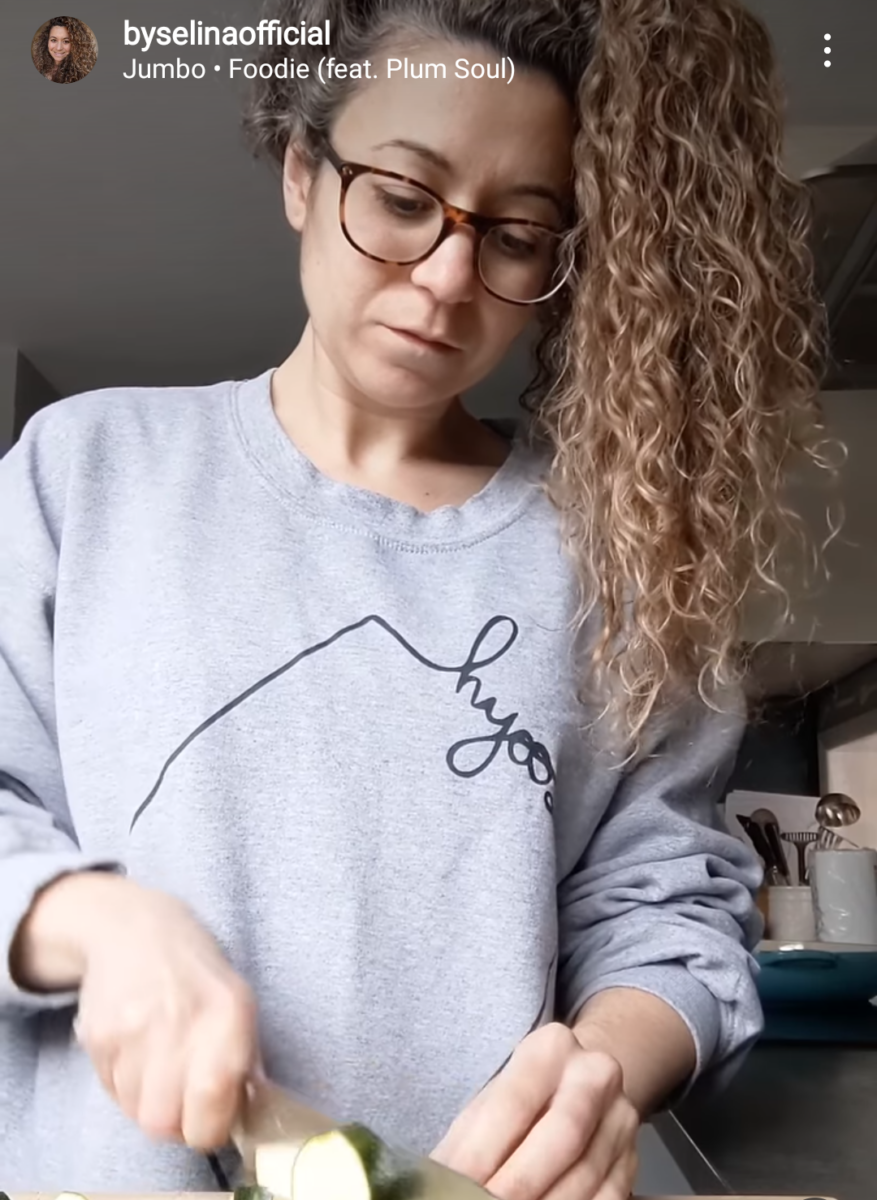
Normally I wash and detangle my curls stood upright in the shower and then follow with damp styling (scrunching in my styling product once I am out of the shower and squeezed out some of the water). I then generally let my curls air dry. I choose these two methods because they are such simple and easy curly routines for when you are short on time. However, if you would like to create great root volume then follow by steps below to help encourage your curls to curl at the root.
Creating curly root volume starts in the shower
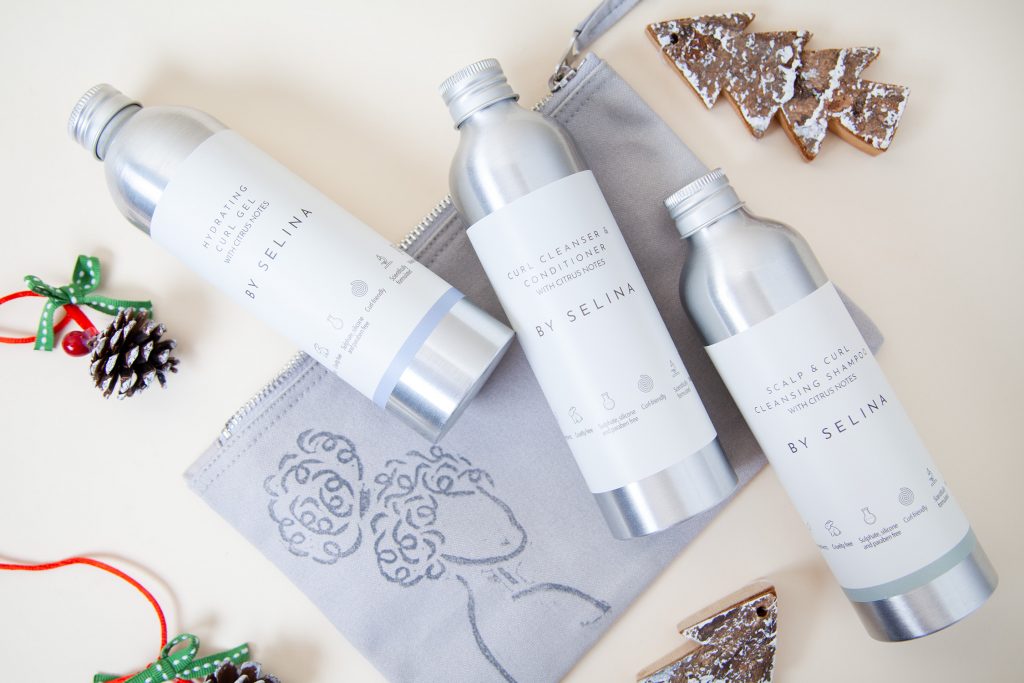
My curly wash day consists of starting off with the BY SELINA Scalp & Curl Cleansing Shampoo. I love this product because not only is the packaging plastic bottle free, eco-friendly and recyclable but the ingredients are biodegradable and contain zero micro plastics or artificial colourings. I created this shampoo our of my sheer frustration in trying to find a curly shampoo on the market that cleaned my curls without drying them out. I therefore created the BY SELINA Scalp & Curl Cleansing shampoo to contain mild, sulphate-free surfactants that easily bind to dirt and wash this away coupled with some wonderful conditioning ingredients to really help condition the curls at the same time. This balance of conditioning and mild surfactants creates a wonder shampoo that foams, cleans your curls but also does not leave your curls dry. Another wonderful thing about the BY SELINA shampoo is that it can help create volume in the curls. This was a completely unexpected advantage of the BY SELINA shampoo. It was not originally designed to be a volumizing shampoo but many curlies have got in touch to say they love how the sulphate free curly shampoo gives volume to their curls. So on days that I defiantly want root volume and big curls, I certainly do make sure that I the BY SELINA sulphate-free curly shampoo into my routine. When shampoo and rinsing my curls this is done upright in the shower. You can purchase the BY SELINA Scalp & Curl Cleansing Shampoo here Scalp & Curl Cleansing Shampoo with Citrus Notes – By Selina
Detangling upside to create great curly root volume
Next on to the detangling. This is an important step in creating root volume so definitely look into the techniques you are using. For the detangling, I use 3 – 4 pumps of the BY SELINA Curl Cleanser & Conditioner. I choose to detangle with this curly conditioner as it is super lightweight, it doesn’t weigh down your curls and it contains lots of lovely detangling ingredients to helps detangle your curls quickly & efficiently. Start detangling your curls from the bottom up. I use a mixture of detangling with a comb and my fingers. When detangling your curls with a comb, I generally use a wide toothed comb when I am looking for more root volume. Brushes such as tangle teezers are great but due to their bristles being tightly packed they can disrupt the curl pattern (This isn’t a don’t use tangle teezers at all, as I do use a tangle teezer on some wash days but note that if you want more root volume go with a wide toothed comb). Whilst detangling your curls gradually work your head forward so that eventually you have detangled all your curls and your curls are now all upside down. This step is also important as it pulls all your curls forward, lifting them away from your scalp, helping to create lift. Next, I scrunch my curls with the conditioner in and depending on how my hair feels I will also add in a hand full of water and really scrunch my curls upwards towards my scalp. This step is important for squishing in hydration, don’t skip this step as this step really does make a difference to how your finished curls will look. You can purchase the BY SELINA Curl Cleanser & Conditioner from here Curl Cleanser & Conditioner with Citrus Notes – By Selina
Rinse conditioner out fully from the root area
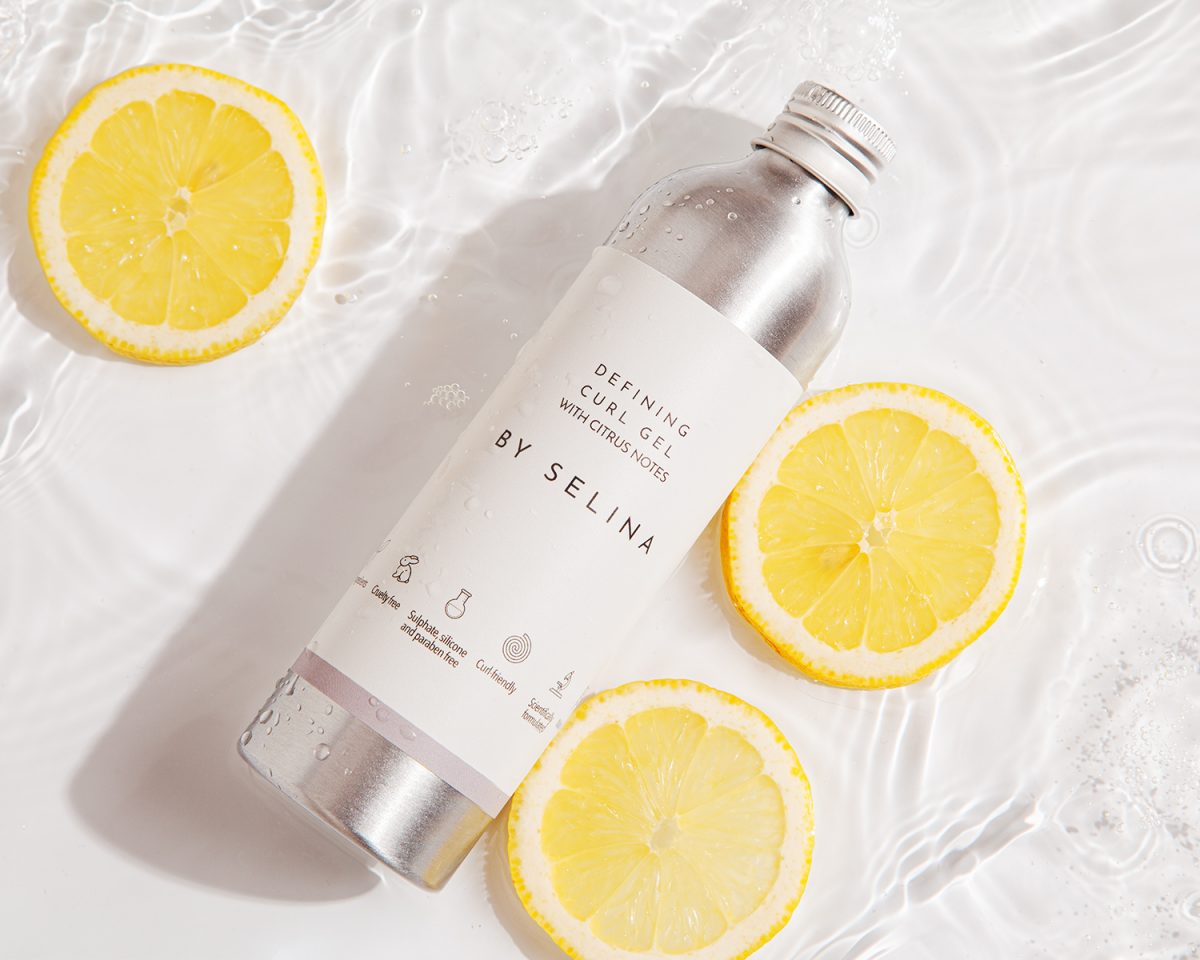
Once I have finished the above hydration step, I rinse the conditioner out fully. Then depending on the day and weather, I will add in just a quarter pump of the Curl Cleanser and Conditioner just to the ends of my hair – not near the root as this will weigh your curls down. I usually leave some conditioner in on the ends in the autumn and winter but not in the spring or summer. While your hair is soaking wet and still facing forwards, I then go in with the Hydrating Curl Gel. I love this gel as it is super lightweight, gives curly volume & definition, produces a cast and leaves your curls feeling like there is zero product in them! Just beautifully bouncy natural curls. This curly gel is also my absolute favourite because of its sustainability credentials. It is plastic bottle free, uses sustainable rock paper labels and is packaged in aluminium which can be recycled indefinitely – perfect for any sustainable, eco-conscious curly 😊. So back to the curly styling, on super wet curls, and your head facing forwards scrunch gel into what would be the under layer of your curls (note this is still while you are in the shower). Next, I add another pump and scrunch into the top canopy of my curls, then also add another pump and this time scrunch into the side. The amount you use will of course vary on your curly type and texture. Once this is all done. I then get out of the shower and scrunch, scrunch, scrunch with a t-shirt type material. Really make sure you scrunch a lot and bring the curls right up close to your scalp before releasing and scrunching again. Once this is complete, if your hair is still wet you can loosely wrap with the t-shirt. The styling and detangling are the key steps here in creating root volume so don’t skip them. You can purchase the BY SELINA stylers from here Styling – By Selina
Shaking out your curls and diffusing for ultimate curly root volume
Once the majority of the water has been soaked up by the t-shirt and after about 3 – 5 minutes I then let my curls down while stood upright. Try not to disrupt your curls and instead give your head a shake to encourage your curls to fall back down. As long as you have only loosely wrapped your curls, with a good shake the curls should start to fall back down. Next, for ultimate volume I go in with a diffuser. Diffusing my hair does take around 15 – 20 mins, and be sure to use a cool setting to prevent heat damage. I generally start by hovering the diffuser around my curls. I will do this while my curls are upright and also while my curls are flipped forward. I will alternate between the two so that my curls are not drying in one set place. When my curls are around 40% – 50% dry I with then gather some sections into the diffuser head and hold these within the diffuser against my scalp, just for a few moments, then release and move onto the next section. If you have a diffuser with long prongs even better as you can get right in close towards the scalp. I will usually diffuse to around 80% – 90% dry and then leave my curls to air dry. Once my curls are completely dry I will then flip my head forward and scrunch out the cast, leaving beautiful big, bouncy curls with lots of root volume and curls.
Key take-aways for creating curly root volume
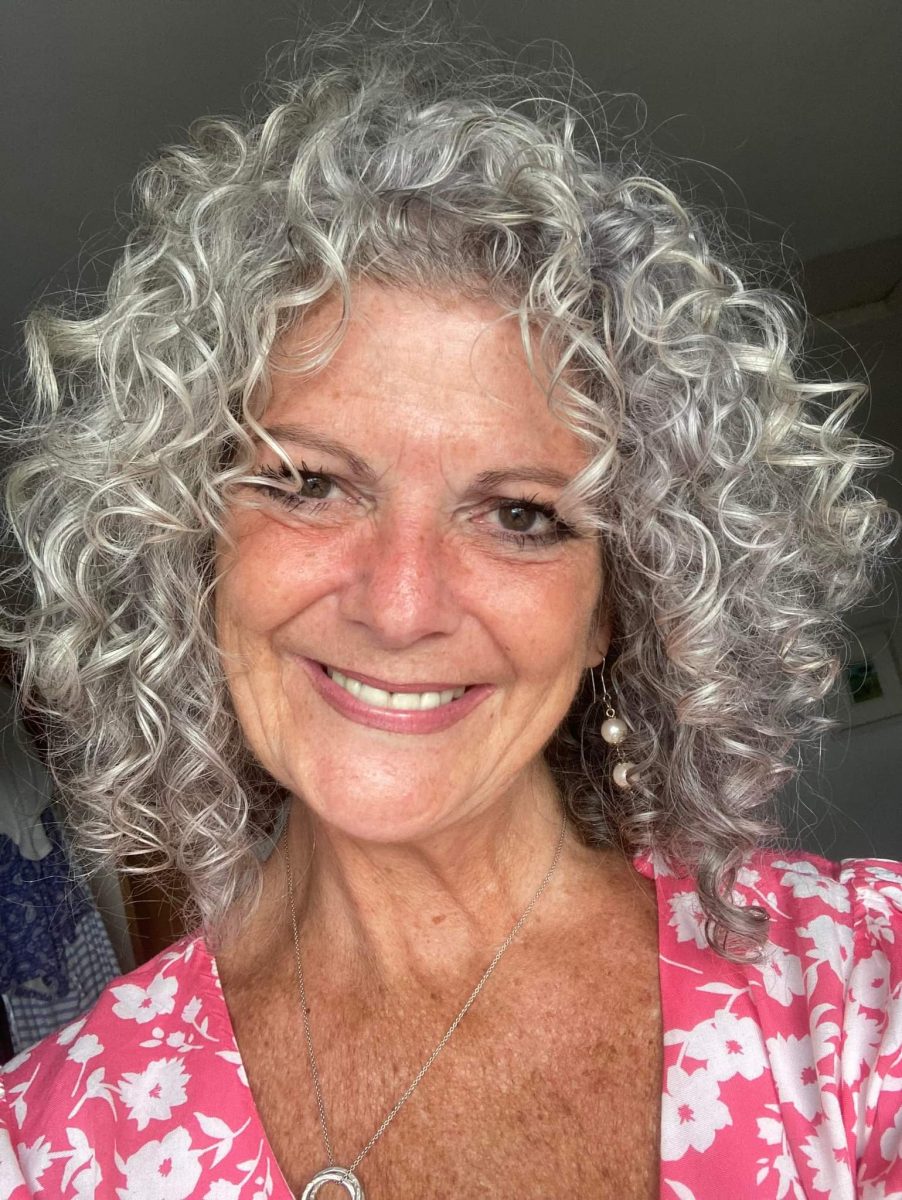
I hope the above tips help, remember detangling and styling upside down and also diffusing will help give you lots of volume. I only tend to diffuse and detangle upside down very occasionally. This is for two reasons, firstly my curls are highlighted so I tend not to diffuse as I find the heat can be quite damaging to the bleach. Secondly, I find detangling and styling upside down does take extra time and it does hurt my back as my curls are pretty long. So for me my go to is the upright detangling and styling. However, it is great to know and have these tips and tricks available for when I want to create big curls.
I hope you enjoyed reading this blog post on how to create curly root volume, please do let me know if you give these tips a try.
Keep safe and well sustainable curlies 😊
Selina x